This past, well with a stubborn 12″ of snow still on the ground in my front yard I should say current, winter has been one of the coldest in recent years (per NWS the 2025-26 meteorological winter saw the coldest average temperature in Vermont since 2014-15). The prolonged and entrenched cold we endured was a recipe for ice dam formation on roofs which under severe circumstances can lead to leaks and roof failure.
What causes Ice Dams?
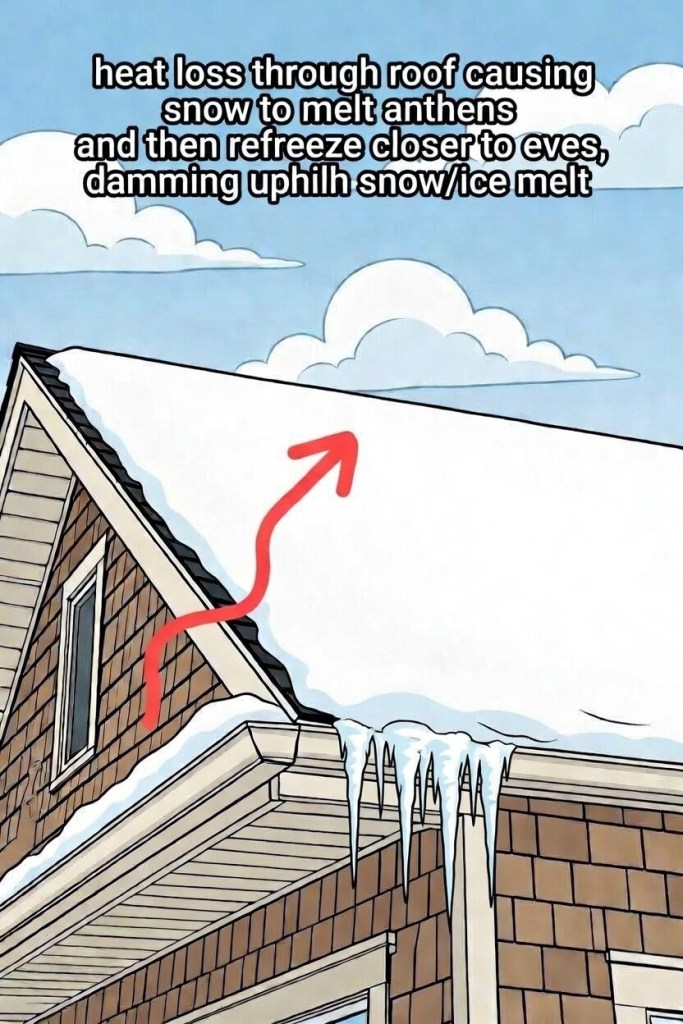
Ice dams are caused by heat escaping through your building’s roof assembly, melting the snow, which then rapidly refreezes as the meltwater runs towards the eve creating the “dam.” This dam then leads to all sorts of problems from damming additional snow melt which can then back up under your roof via capilarry action and hydrostatic pressure. Asphalt shingle roofs are particularly vulnerable to these freeze thaw cycles due to the vulnerability of the bitumen seal where the shingles lap each other.
Doesn’t ice form naturally on a roof when the snow is warmed up the sun’s radiation, but then cooled by ambient air temperature below 32F?
Yes, icicles and ice will form naturally even on roofs of undconditioned/unheated buildings, particularly on south and southwest facing roofs which are exposed to strong mid- and late-winter sun. However because warm air is not being forced onto the roof during periods of excessively cold weather, often the coldest nights, this ice formation is not severe enough to pose problems or a cause of failure.
Can ice dams form on metal roofs?
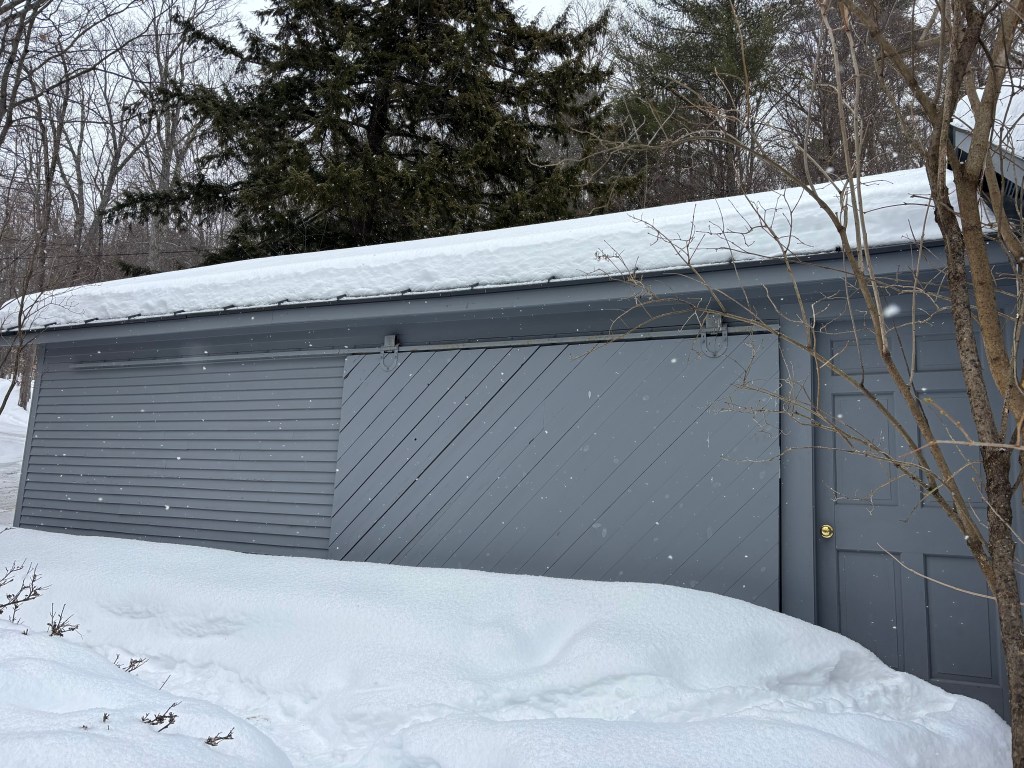
At Defrancis Land and Forest we are big fans of metal roofs and standing seam metal in particular. Standing seam is as timeless as it is high-performance–showcasing both a modern sleekness and an agrarian elegance that helps buildings blend so nicely into our eastern Vermont landscape while also a best-in-class roof choice in our climate. They outperform asphalt roofs by every criterion I am aware of, such as their ability to shed snow. While this mitigates ice dams–and makes metal a far superior product relative to asphalt from the standpoint of ice dams–it does not reduce the risk of ice dams to zero or negate the need for the fundamental principles of proper insulation and ventilation.
How do you prevent ice dams and mitigate damage on your residential roof?
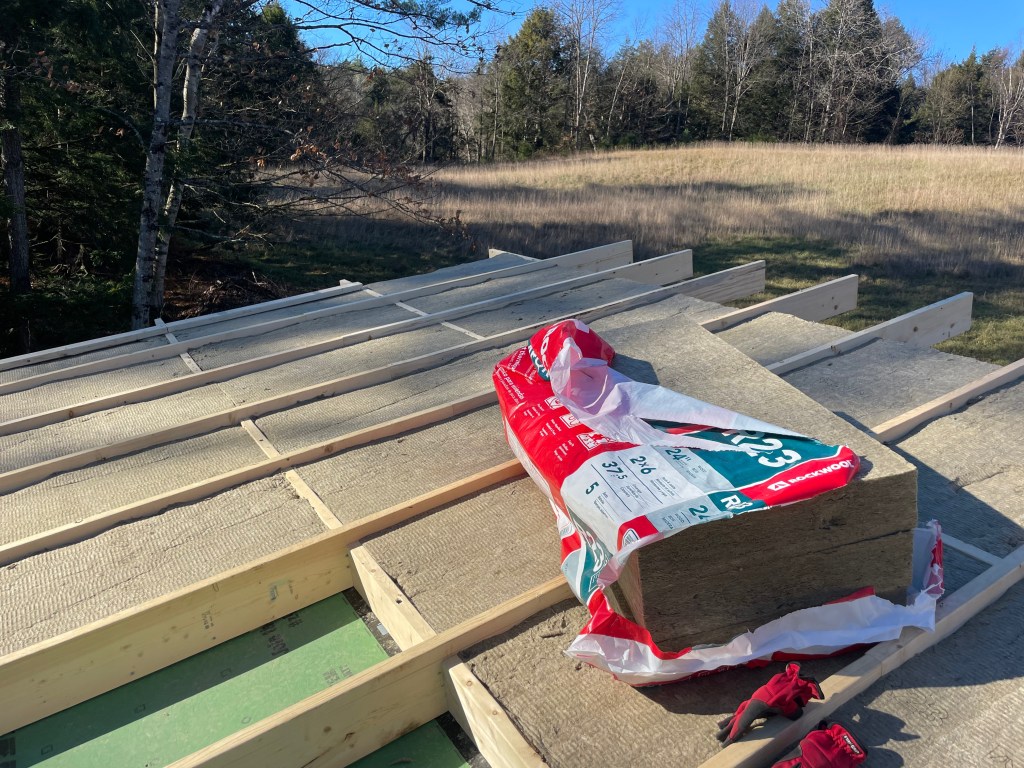
As briefly discussed in the first section the primary methods used to prevent ice dam formation in heated residential buildings are straightforward: A properly insulated assembly to slow and minimize heat loss and a well-ventilated roof deck such that when the heat loss does occur the warm air is vented up outhe ridge rather than forced to migrate through the roof deck. Insulation should, at minium, meet code which in Vermont is R45 for continuous insulation (such as SIPs), R49 for cathedral ceiling rafter cavities, and R60 for attics with economical blown-in loose fill insulation (typically cellulose or TimberFill). For ventilation a continuous 1″ channel (depth between roof deck and insulation) from eve-to-ridge should be maintained to ensure what heat does escape the building does not warm up the roof deck which would melt the snow (and those causing an ice downhill).
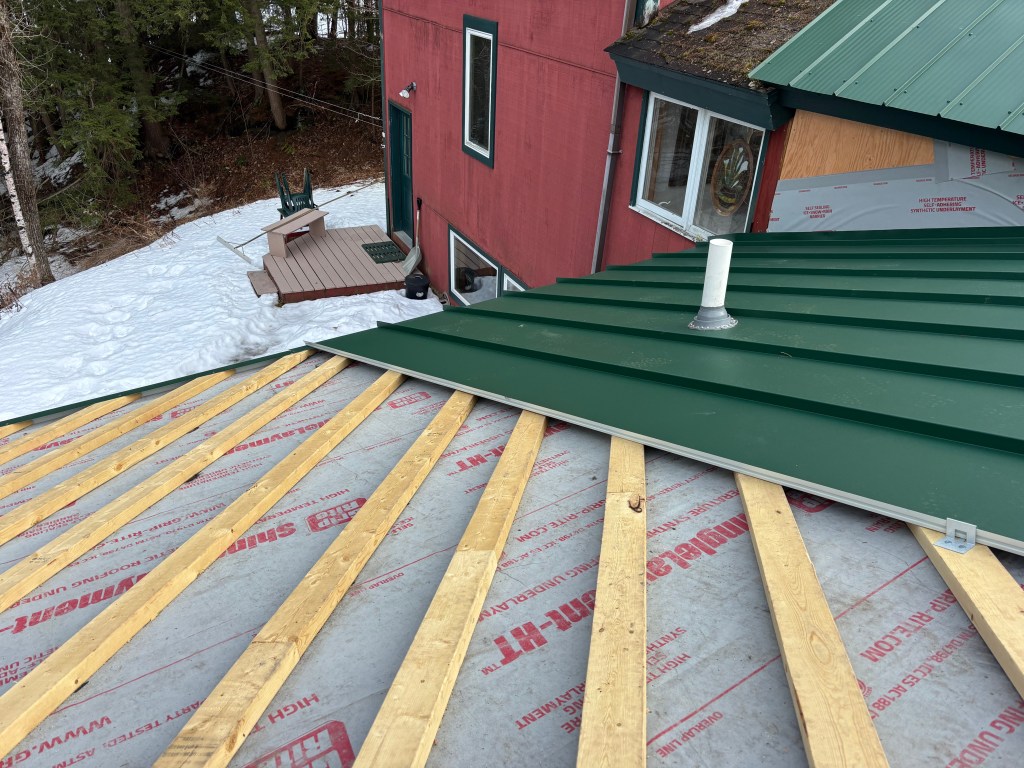
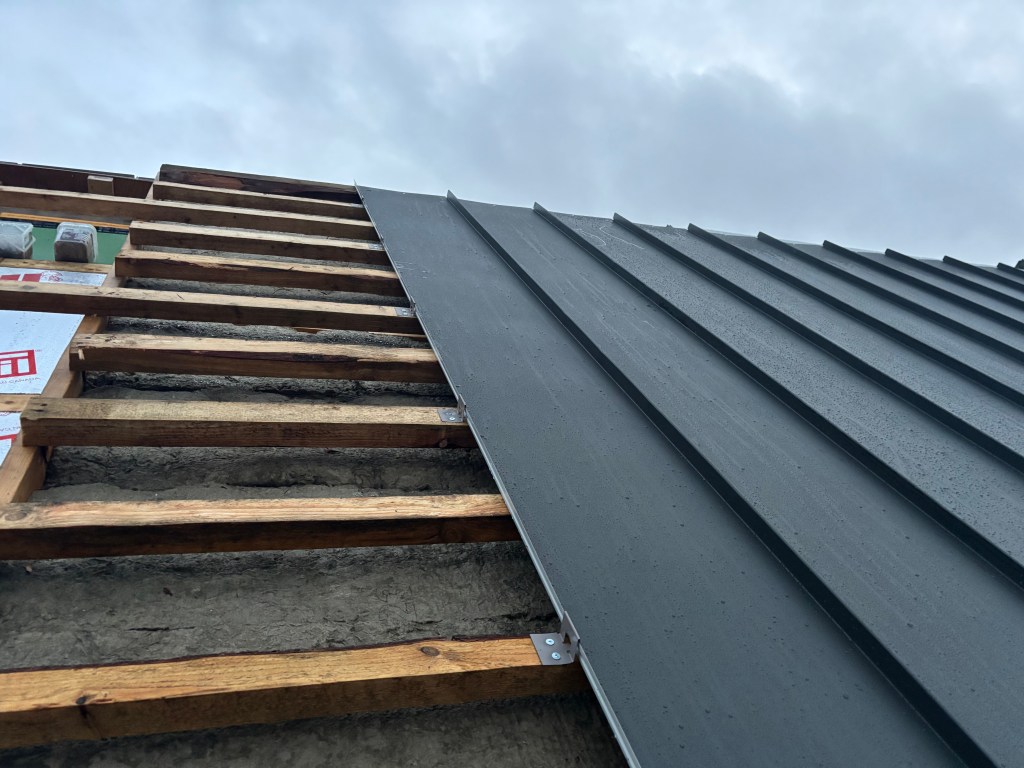
Beyod those two fundamentals I like to think in terms of ice dam prevention and ice dam mitigation when designing both new-construction roof assemblies and repairing/renovating existing residential roofs in the Upper Valley. Prevention means creating a roof assembly with the fewest vulnerable areas (minimizing valleys, sidewalls, slope transitions and roof penetetrations, etc.; a simple gabled barn with a relatively steep 6/12-10/12 pitch is ideal), maintainaing a continuous 1″+ air channel under the roof deck for ventilation and ensuring the assembly below that ventilation channel meets or exceeds code for insulation and air tightness. Meanwhile I like to think of mitigating as using every tool available to make the most water-proof assembly possible given the constraints we may working with (such as an existing valley or skylight penetration where ice buildup is more likely). This involves meticulously flashing everything, using a self-adhered high-temperature Ice and Water Shield and using the most long-lasting water tight materials avaiable: Generally that means standing seam metal with meticulous flashing details around valleys, sidewalls and penetrations.
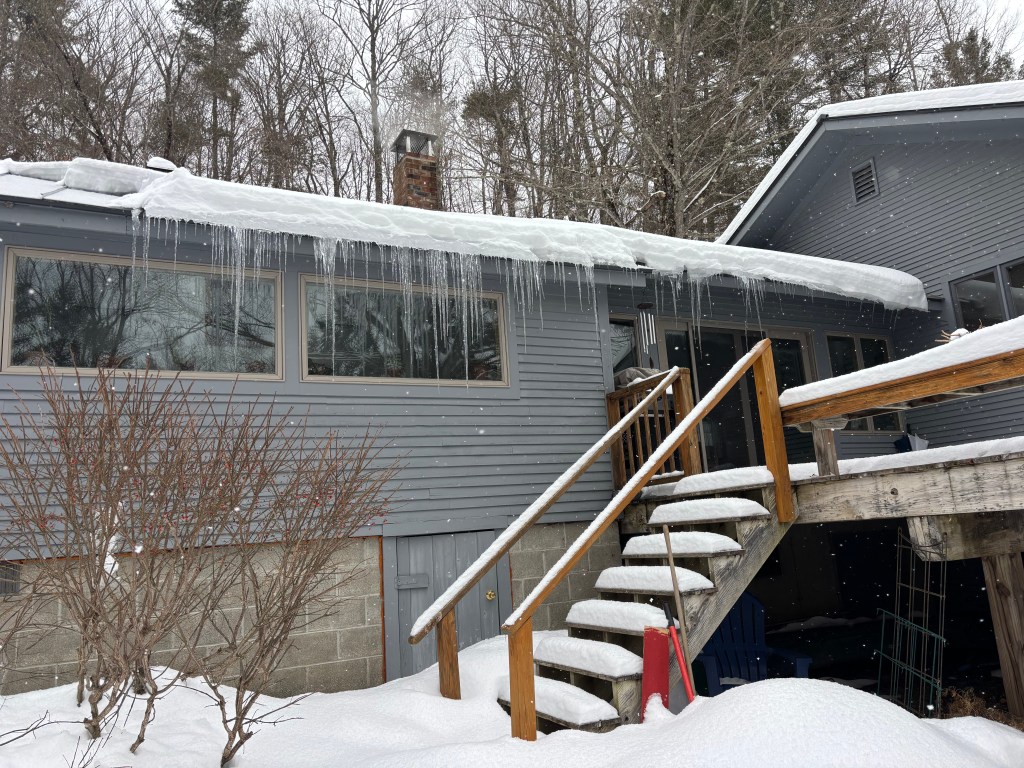
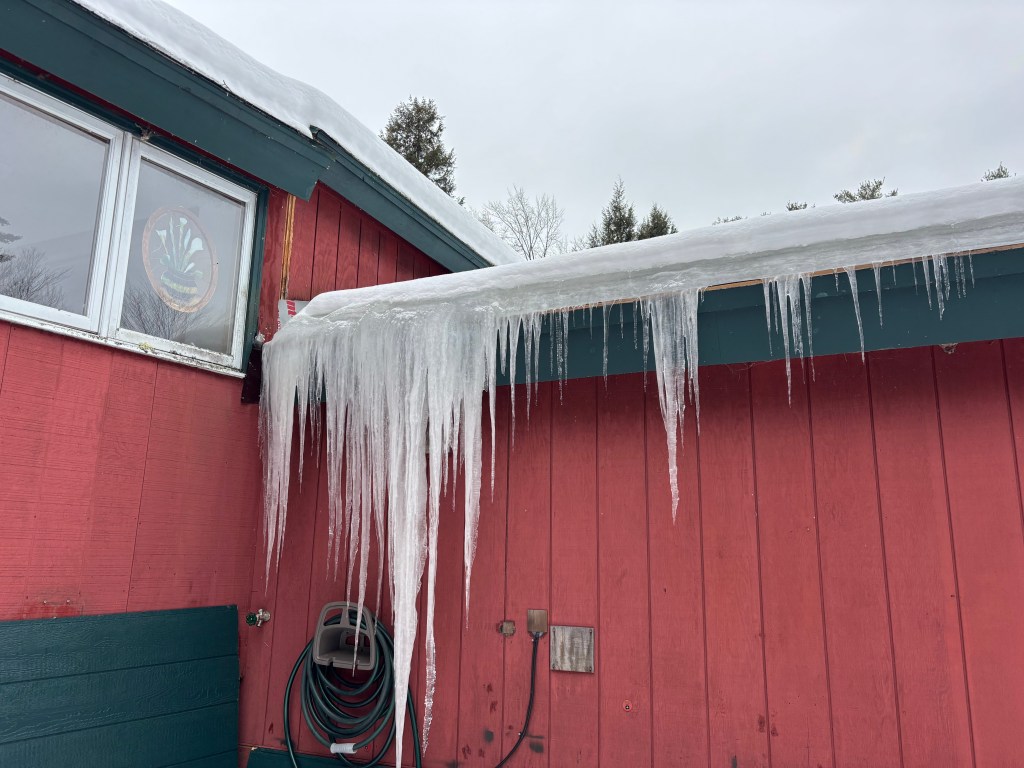
Strategies we have used to prevent ice dam formation and mitigate damage
Who should I contact about improving my roof assembly’s thermal performance and preventing future ice dam formation?
If your home is experiencing problematic ice dam formation each winter DeFrancis Land and Forest Services would love to provide you with a free quote and a mock up design solution to prevent and mitigate ice dam formation. Our passion is creating durable, long-lasting and low-maintenance buildings using the latest advances in building performance science to provide homeowners with lower utility bills and a smaller footprint while enhancing aesthatics and curb appeal to the customer’s specfication. You can contact us at pcdefrancis@gmail.com or 802-299-6503.

Leave a comment